Cinematic Control in VEO 3: A Deep Dive into 7 Creative Prompt Layers
Published on August 28, 2025
It’s strange how a perfect idea can often result in such a flat-looking AI video.
It’s usually not the main subject or the action. You can get that part perfect and still end up with a video that feels oddly empty.
The real shift happens when you start telling the AI about the background details: the quality of the light, a specific camera move, the overall mood. Adding just a couple of those details seems to be the trick for getting those really impressive, cinematic AI videos.
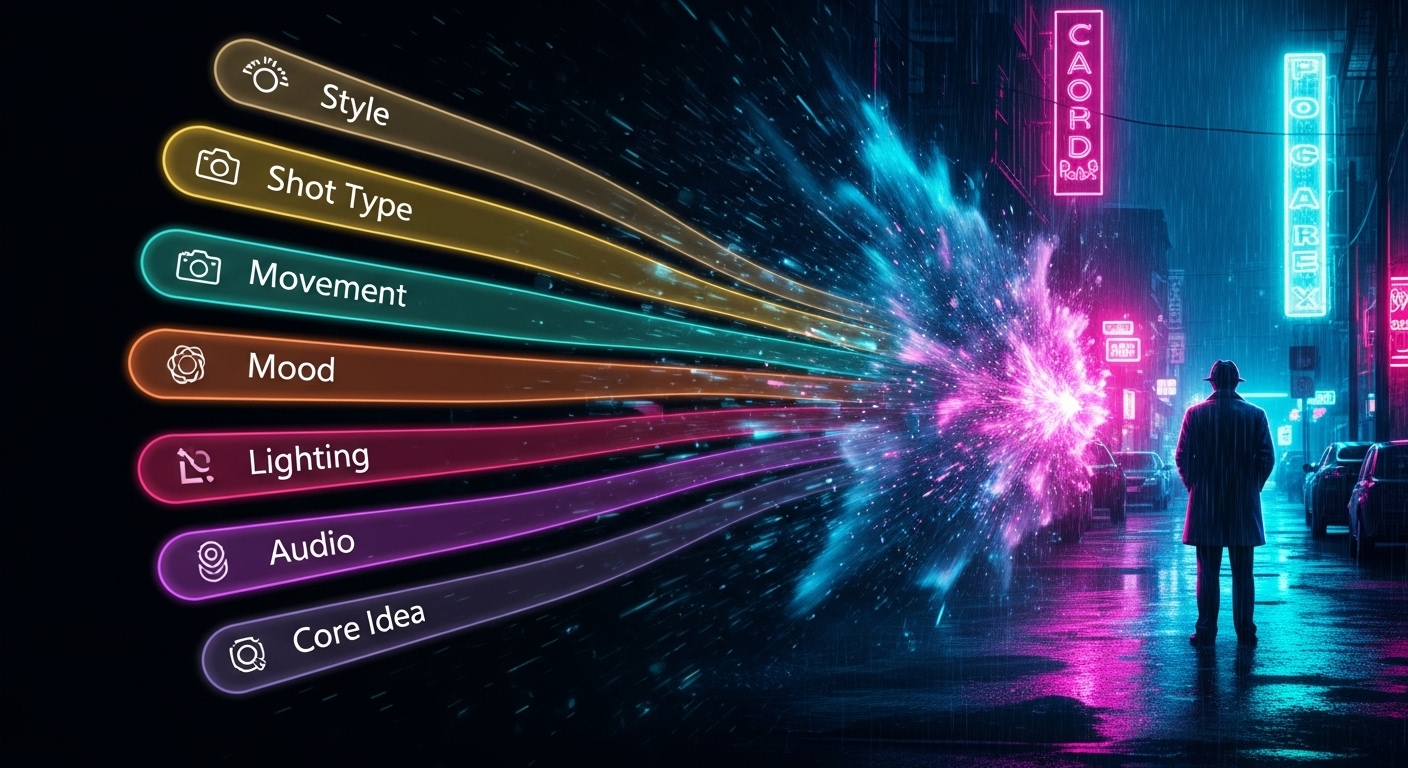
It’s basically what’s called prompt engineering, and it’s not as technical as it sounds. So I just wanted to lay out the 7 cinematic prompt layers that have made the biggest difference for me.
1. The Core Idea Itself
Most of the generic, forgettable videos I get from VEO 3 seems to stem from this first part.
I’ll just type in something quick, like a man walking, and then I’m surprised when the video looks like boring stock footage. Of course it does. The prompt was boring. The AI is a literal machine; it has no imagination to fill in the gaps for me.
The whole dynamic changes when you give it something with a bit of substance from the start. A little more texture. Maybe instead of the plain prompt, it’s something like:
A tired detective in a long, worn trench coat, walking slowly down a rain-soaked city street at night.
Now there’s a character. There’s a mood. There’s a whole world in that sentence before we even touch any of the specific camera or style commands. All that richness comes from spending a few extra seconds on the core idea. It’s the foundation for everything else.
2. Picking the Vibe (The Style)
So, you’ve got your detective on the rainy street.
The biggest choice you make, I think, is the overall style. Photorealistic is the go-to if you want it to look like a real, high-quality photo. But honestly, it gets way more interesting when you push it a little.
Take a word like Cinematic. It’s not just realistic; the AI seems to get that this means richer colors and more intentional lighting. The whole thing just ends up looking more expensive.
And then there’s the genre stuff, which feels like a creative shortcut.
Before: A detective in the city.
After: A detective in the city, in a classic Film Noir style with deep, dramatic shadows and stark, high-contrast lighting.
For that detective, telling the AI to go full Film Noir produces a huge leap in quality. In my tests, the AI almost always understands these genre cues. Same for Cyberpunk. You describe a “gritty, high-tech world drenched in neon,” and you get the futuristic, rainy city you were picturing.
But the most surprising results for me have come from throwing realism out the window completely. A hand-drawn look can give it this amazing, organic feel. And I’ve had a lot of fun telling it to do something Impressionistic, where it’s all just soft, painterly light.
3. Telling the Camera Where to Look
So, you’ve got your detective and the vibe is set. Now, where do we actually point the camera?
This part is probably the quickest way to make your video feel like it has some actual intention behind it. You don’t have to get super technical.
For instance, I use a Wide Shot all the time. Just telling the AI to pull the camera back is great for showing how small a character is in a big city.
But the most effective results, for me, come from getting in close. If you tell VEO 3 to do an Extreme Close-up on the detective’s tired eyes, the whole feeling of the scene shifts. It becomes way more intense and personal. It’s like you’re telling the viewer, “Look at this. This is what matters right now.”
I’ve also been playing around with the camera’s angle. A Low-angle Shot, looking up, is a classic trick to make someone look powerful. You can also do the opposite with a High-angle Shot, looking down, which can make a character seem kind of vulnerable or lost.
For example, look at the difference a shot type makes on a simple landscape:
Before: A mountain in the desert.
After:An extreme wide shot of a single, majestic mountain in a vast desert, its peak touching the clouds and its base surrounded by endless sand.
4. Adding Some Life with Movement
A still shot is fine, but it can feel a bit digital. Lifeless. The whole scene starts to feel more alive the moment the camera moves. Even a little movement can make the scene feel real.
One of the ones I use the most is a Tracking Shot. It’s basically when the camera just moves alongside whatever is happening. If your detective is walking, you can tell the AI, “The camera tracks alongside him,” and suddenly you feel like you’re walking with him.
Then there’s the Dolly In. You describe the camera physically moving closer to a character, and it builds this incredible sense of tension or intimacy. It’s not a zoom; it’s this slow, creeping movement that’s perfect for when the audience needs to focus on a reaction.
Here’s a quick word on what doesn’t work. I once tried to get a really fast, chaotic shot by describing it as ‘a frantic, shaky tracking shot. The result was a mess, just a jittery, unusable blur. I learned that VEO 3, in my experience, responds better to clear, professional commands. “A fast-paced handheld shot” worked much better. This little failure taught me to be more precise.
Here’s a simple example of how movement adds energy:
Before: A spaceship flies through an asteroid field.
After: A small spaceship flies through a dense asteroid field, the camera tracking smoothly alongside it as it narrowly dodges a massive, spinning rock.
5. Setting the Mood
This next layer is a bit more abstract, but I’ve found it’s a really powerful shortcut.
It turns out, you can just tell the AI the emotion you’re going for. I didn’t think it would work that well, but it’s like you’re giving it a one-line creative brief, and it actually listens.
With our detective scene, I tried adding a phrase right into the prompt that said, “The whole feeling of the scene is tense and urgent.” And it was like the AI just got it. The shadows felt a little deeper, the camera work a bit more claustrophobic.
What’s really wild is how much the scene changes if you just swap out that one description. I tried another version where I described it as having “a warm, nostalgic feeling, like a fading memory,” and the whole video transformed.
It’s amazing how mood can create a story from almost nothing:
Before: An old, empty room.
After: An old, empty room. The atmosphere is somber and melancholic, with dust motes dancing in a single ray of fading afternoon light.
6. Painting with Light
Okay, this one might be the most important layer of all. Seriously. Lighting changes everything. It’s the soul of the image.
Before: A tranquil forest scene.
After: A tranquil forest scene, with volumetric lighting as beautiful beams of sunlight pierce through the dense canopy.
Everyone loves Golden Hour for a reason. You just tell the AI you want that magical light from just after sunrise or before sunset, and your scene is instantly bathed in this warm, soft, beautiful glow.
But my personal favorite for our detective scene would be low-key lighting. It’s that classic film noir look. You ask for “low key lighting with deep, dramatic shadows,” and you get that high-contrast, mysterious feel where you can’t quite see everything.
And here’s a little trick I stumbled upon: try adding the phrase Volumetric Lighting. This is when you can actually see the beams of light in the air, like sunlight streaming through a dusty window. It adds an incredible sense of depth to almost any scene.
7. The Sound of the Scene
The audio descriptions are where things get really surprising with VEO 3.
I figured describing a sound was just a way to influence the look of the video, a hint for the atmosphere. But the model is actually trying to generate the sounds you describe.
It’s a total game-changer. For our detective, I tried adding a line to the prompt about the “sharp click-clack of his shoes on the wet pavement.” I was just doing it for the mood, to make the scene feel a little more lonely. But the final video actually had that sound in it. It wasn’t perfect, Hollywood-level sound design, but it was unmistakably the sound of footsteps on a wet street.
And it’s not just for small, specific noises. It seems to be really good at building the overall atmosphere of a place. If you describe the “low hum of distant city traffic,” it gets that this is the background noise needed to make a city feel real.
What’s really wild is the music. I’ve seen prompts that ask for a “somber piano melody,” and while it might not compose a masterpiece, it generates something that actually feels right for the scene. It understands the emotional intent.
It’s a whole different level of control. You’re not just directing the visuals anymore; you’re basically the sound designer for your own clip.
Putting It All Together: A Real-World Example
So, what happens when you actually combine all seven of these creative layers? Let’s put it to the test and see what happens.
We’ll start with a simple, almost boring, core idea.
The Before: An old man fixing a watch.
Now, let’s take that simple idea and build a complete creative blueprint around it using all seven layers we just discussed.
The After: An extreme close-up, static shot, focused on the finely wrinkled hands of an elderly man, wearing thin spectacles and a jeweler’s loupe, as he delicately manipulates a tiny, intricate watch movement with miniature tools. The scene is set on a cluttered wooden workbench, surrounded by an array of antique gears and springs. A soft, warm golden hour light filters through a dusty window, casting long, gentle shadows. The overall style is a vintage, sepia-toned aesthetic, evoking a profoundly nostalgic and serene atmosphere. The soft, rhythmic ticking of the watch and the faint metallic clicks of tools can be heard.
Let’s quickly break down how the layers are working together here:
Core Idea: An old man is fixing a watch, but with rich detail (wrinkled hands, loupe, cluttered workbench).
Style: The prompt specifies a “vintage, sepia-toned aesthetic.”
Shot Type: It commands a very specific “extreme close-up, static shot.”
Movement: The choice here is a “static shot” to create a feeling of intense focus.
Mood: The prompt directly asks for a “nostalgic and serene atmosphere.”
Lighting: We get that beautiful “warm golden hour light” filtering through a window.
Audio: The scene is brought to life with the “rhythmic ticking” and “metallic clicks.”
See the difference? The “After” prompt isn’t just a request; it’s a complete set of directions.
Now, writing a detailed prompt from scratch can be a real momentum killer. This is especially true when you’re in a creative flow. I found myself constantly stopping to remember the right phrase for a specific camera move or lighting style.
It’s not a magic button. It’s just a simple workspace that organizes these seven layers for you. You start with your core idea, and our interface lets you easily click through and add all the cinematic options we’ve just talked about. It builds that powerful, detailed prompt for you so you can stay focused on the actual idea.
That’s the whole idea behind it. I hope this breakdown helps you get some truly great results from your own creations.